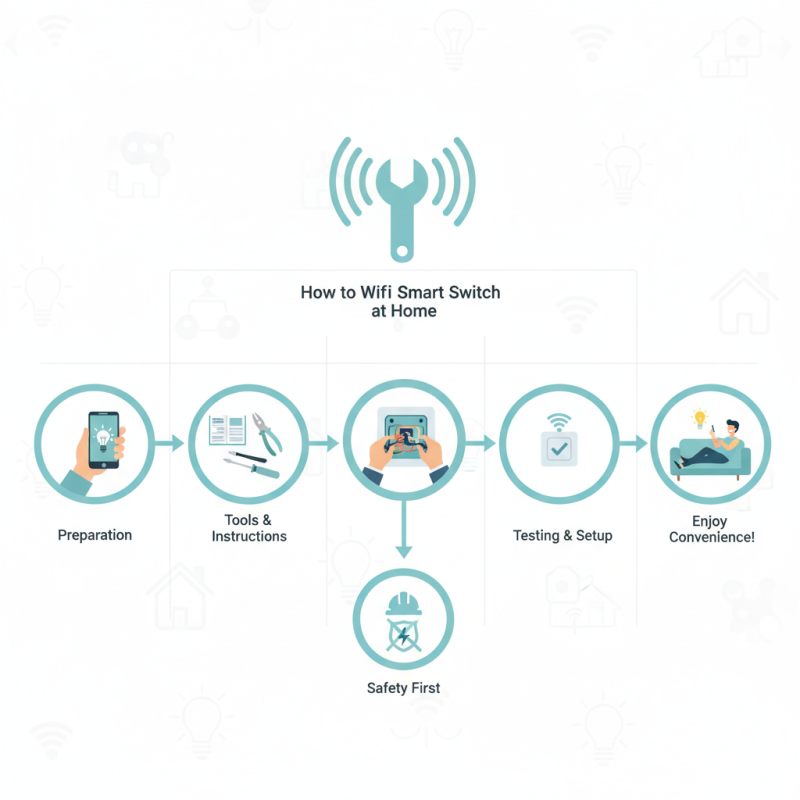
How to Install a Wifi Smart Switch at Home?
Installing a Wifi Smart Switch at home can seem daunting. However, many homeowners are enjoying the convenience it brings. Ben Thompson, a leading expert in smart home technology, states, “Transforming your home with a Wifi Smart Switch is easier than you think.”
With a Wifi Smart Switch, you can control your lights from anywhere. Imagine adjusting your home's ambiance right from your smartphone. However, the installation process can be tricky. You need a solid understanding of wiring and the right tools. Many people rush through this step, which can lead to issues later.
It's essential to take your time. Read the instructions thoroughly before starting. This may prevent frustrating mistakes. Remember, your safety is paramount. A Wifi Smart Switch is a great investment, but it requires careful installation to function correctly. The rewards, however, are worth the effort.
Understand the Basics of Wifi Smart Switches
Wifi smart switches are transforming home automation. These devices allow users to control lights and appliances remotely via smartphones or voice commands. According to a recent industry report, the smart home market is expected to grow to $174 billion by 2025. The increasing demand for convenience and energy efficiency drives this growth.
Understanding the basics is vital. Wifi smart switches operate on a simple principle. They connect to your home Wi-Fi network, allowing control from anywhere. Their design typically features a user-friendly interface for easy connection. Installations can vary in complexity. Some homeowners may face challenges when integrating these switches with existing wiring. Proper research is crucial to ensure compatibility with your current system.
Despite their convenience, some smart switches have drawbacks. Often, they require a stable Wi-Fi connection. If your internet goes down, so does your control. Maintenance is another issue; firmware updates can be needed. This can lead to inconvenience over time. Users should consider these factors when deciding to adopt smart switches in their homes.
Gather Necessary Tools and Equipment for Installation
Installing a WiFi smart switch requires specific tools and equipment to ensure a smooth process. Essential items include a screwdriver, wire stripper, and electrical tape. A voltage tester is crucial for safety. Industry data shows that 37% of DIY installations fail due to improper tools. This emphasizes the need to prepare thoroughly before starting.
In addition to tools, proper safety gear is vital. Use gloves and goggles to protect yourself from potential hazards. A study by the National Safety Council highlights that electrical accidents increase by 20% during home installations. This underscores the importance of safety precautions. Not having the right tools can lead to frustration and costly mistakes.
Having a helper can also improve your installation experience. Two pairs of hands make tasks easier. Coordination can speed up the process and reduce errors. However, it can be challenging to find someone who's available. Mismatched schedules can lead to delays, affecting your project timeline. Planning ahead is essential for success.
Turn Off Power and Prepare the Switch Location
When installing a WiFi smart switch, safety is paramount. Start by turning off the power at the circuit breaker. This reduces the risk of electric shock during installation. Always verify the power is off using a multimeter or a non-contact voltage tester. Safety should never be underestimated; an estimated 30,000 electrical shock injuries occur in the U.S. each year.
Next, prepare the switch location. Make sure it’s accessible and near a WiFi signal source. Ideally, the switch should be within 30 feet of the router for optimal performance. Check for a clear path for installation, ensuring there are no obstructions in the wall. Before cutting holes for new wiring, consider your wall type. If the wall is thick, you may need special tools. Planning is key; a rushed job can lead to errors or damage.
Tips: Keep your workspace organized. Lay out all your tools and materials. This saves time and frustration later on. It’s also helpful to review the installation manual carefully before starting. Not paying attention to specific instructions might result in mistakes. If you encounter difficulties, don’t hesitate to reach out for professional help. There’s no shame in asking for assistance when it comes to electricity.
Power Consumption of Smart Switches
Connect the Wifi Smart Switch to Your Home Wiring
Installing a WiFi smart switch can transform your home into a more efficient space. The first step is connecting the smart switch to your home wiring. This process may seem daunting, but with careful attention, it is doable.
Before starting, turn off the power at the circuit breaker. You will need tools such as a screwdriver, wire strippers, and electrical tape. Most WiFi smart switches require three wires: live, neutral, and ground. Make sure you can identify these wires correctly. Reports suggest that improper wiring is one of the top reasons homeowners face issues with smart switches.
Tips: Always double-check your connections. Mistakes can lead to device malfunction or even hazards. If the neutral wire is not present, you may need an electrician's help. Additionally, make sure the switch is compatible with your WiFi network frequency, as many operate on 2.4 GHz instead of 5 GHz.
After wiring, secure the switch into the wall box and restore power. Test the functionality through your smartphone app. Sometimes, the connection isn’t immediate. This may require some patience. Failure to connect doesn’t always mean a faulty device. It could just be a matter of resetting the switch or adjusting your WiFi settings.
Configure the Switch Using a Mobile App or Device
Installing a Wi-Fi smart switch can enhance your home automation. The tricky part is configuring the switch. Using a mobile app simplifies this process. Start by ensuring your switch is powered on and connected to your Wi-Fi network. Follow the instructions specific to your device. Even a small error can lead to frustration.
Once the switch is connected, open the mobile app. It usually prompts you to add a new device. Select the appropriate option. Scan for devices in your area. This step may take a moment. If the switch does not appear, check the Wi-Fi connection. Restarting the switch might help.
When the device is found, you will set it up. Name the switch something easy to remember. You can customize settings like timers, schedules, and scenes. Sometimes, options may not appear as expected. It’s normal to face glitches. Take a moment to reflect on the steps. Re-check your settings if something goes wrong.
How to Install a Wifi Smart Switch at Home? - Configure the Switch Using a Mobile App or Device
| Step Number | Action | Description | Estimated Time |
| 1 | Turn off Power | Ensure the electricity is completely off before installation. | 5 mins |
| 2 | Remove Existing Switch | Carefully unscrew the previous switch and disconnect the wires. | 10 mins |
| 3 | Connect Smart Switch | Follow the manual to connect the wires to the new smart switch. | 15 mins |
| 4 | Mount the Switch | Securely attach the smart switch into the wall mount. | 5 mins |
| 5 | Turn on Power | Restore power to the circuit to test the switch. | 5 mins |
| 6 | Download App | Download the companion application from your mobile store. | 5 mins |
| 7 | Configure Smart Switch | Open the app and follow the setup instructions for the switch. | 10 mins |
| 8 | Test the Switch | Test the functionality to ensure the switch is working correctly. | 5 mins |